How to Set Up Scan to Email Feature on a Multifunction Printer
What is the Scan to Email Feature?
Scan to email is a useful feature in which you scan a document, and instead of sending the scanned copy directly to your computer, a multifunction printer (MFP) or copier sends it directly to an email address.
Using the scan to email feature saves you some time by cutting out an extra step in the process.
But printers do not come with this feature pre-installed. You will need to configure and setup scan to email on your devices.
This blog will give you general instructions.
The process will vary depending on your specific printer brand and model as well as your computer operating system (Windows or Mac). We recommend following the instructions that accompany your printer.
Step 1: Make Sure Your Printer is Connected to the Internet
Before you start the setup process, make sure your printer is connected to the internet, either via ethernet cable or wireless router for Wi-Fi networks. Check your printer manual and network configuration to make sure the connection is working properly.
You cannot send an email without a working internet connection, and neither can your printer.
Step 2: Find the IP Address for Your Printer
Your printer’s IP address is a unique number that identifies it on your network. The IP address only appears when the printer is connected to the network. You will need its IP address in order to send emails.
You can find the IP address of your printer in a few different ways. The easiest way is to look at the control panel of your printer (if it has one). Most printers have an “information” or “network settings” section, which will display the IP address.
Alternatively, you can check your router’s list of connected devices. Every device that connects to the network is assigned an IP address, and your router should have a listing of all these numbers.
Step 3: Find SMTP Server Details
The next few steps vary depending on your printer model, computer operating system, and email provider, so please refer to your printer’s user manual for instructions.
Generally speaking, you need to locate SMTP server details, which can usually be found on your email account’s settings page. These include information such as:
- – Your email address
- – Your email password
- – Outgoing email provider port number (usually 587 or 465)
- – Authentication type (TLS or SSL)
Entering these SMTP details into your printer’s embedded web server page or directly into its control panel will allow the printer to send emails using an external server, such as Gmail or Office 365.
Step 4: Configure Scan to Email Settings
Option 1: Embedded Web Server
To access the embedded web server page, simply enter the printer’s IP address into a web browser’s URL bar.
This may bring up a page requesting the printer’s administrator username and password. Enter the admin account and password information to log in.
Once logged in (or if you bypass the admin login request), you will arrive at the embedded web server page. You may have to navigate the page to find the printer’s settings menu, which may be broken down into more specific menus. Select a menu that mentions the word “email” and/or “email setup.”
The menu you’re looking for contains the following phrases (or ones that are similar) with blank boxes next to them; we have also included the corresponding SMTP server settings needed to go into the blank boxes:
- – Primary SMTP Gateway: Outgoing SMTP server of your email provider (i.e., smtp.gmail.com)
- – Primary SMTP Gateway Port: Outgoing email provider port number
- – Reply Address: Your email address
- – Use SSL/TSS: Select “Required” from the dropdown menu
- – SMTP Server Authentication: Select “Login/Plain” from the dropdown menu
- – Device-Initiated Email: Select “Use Device SMTP Credentials” from the dropdown menu
- – Device UserID: Your email address or username used to log into your email account
- – Device Password: The password used to log into your email account
Once you’ve entered the necessary information into these boxes, click the Save button, and go on to Step 5.
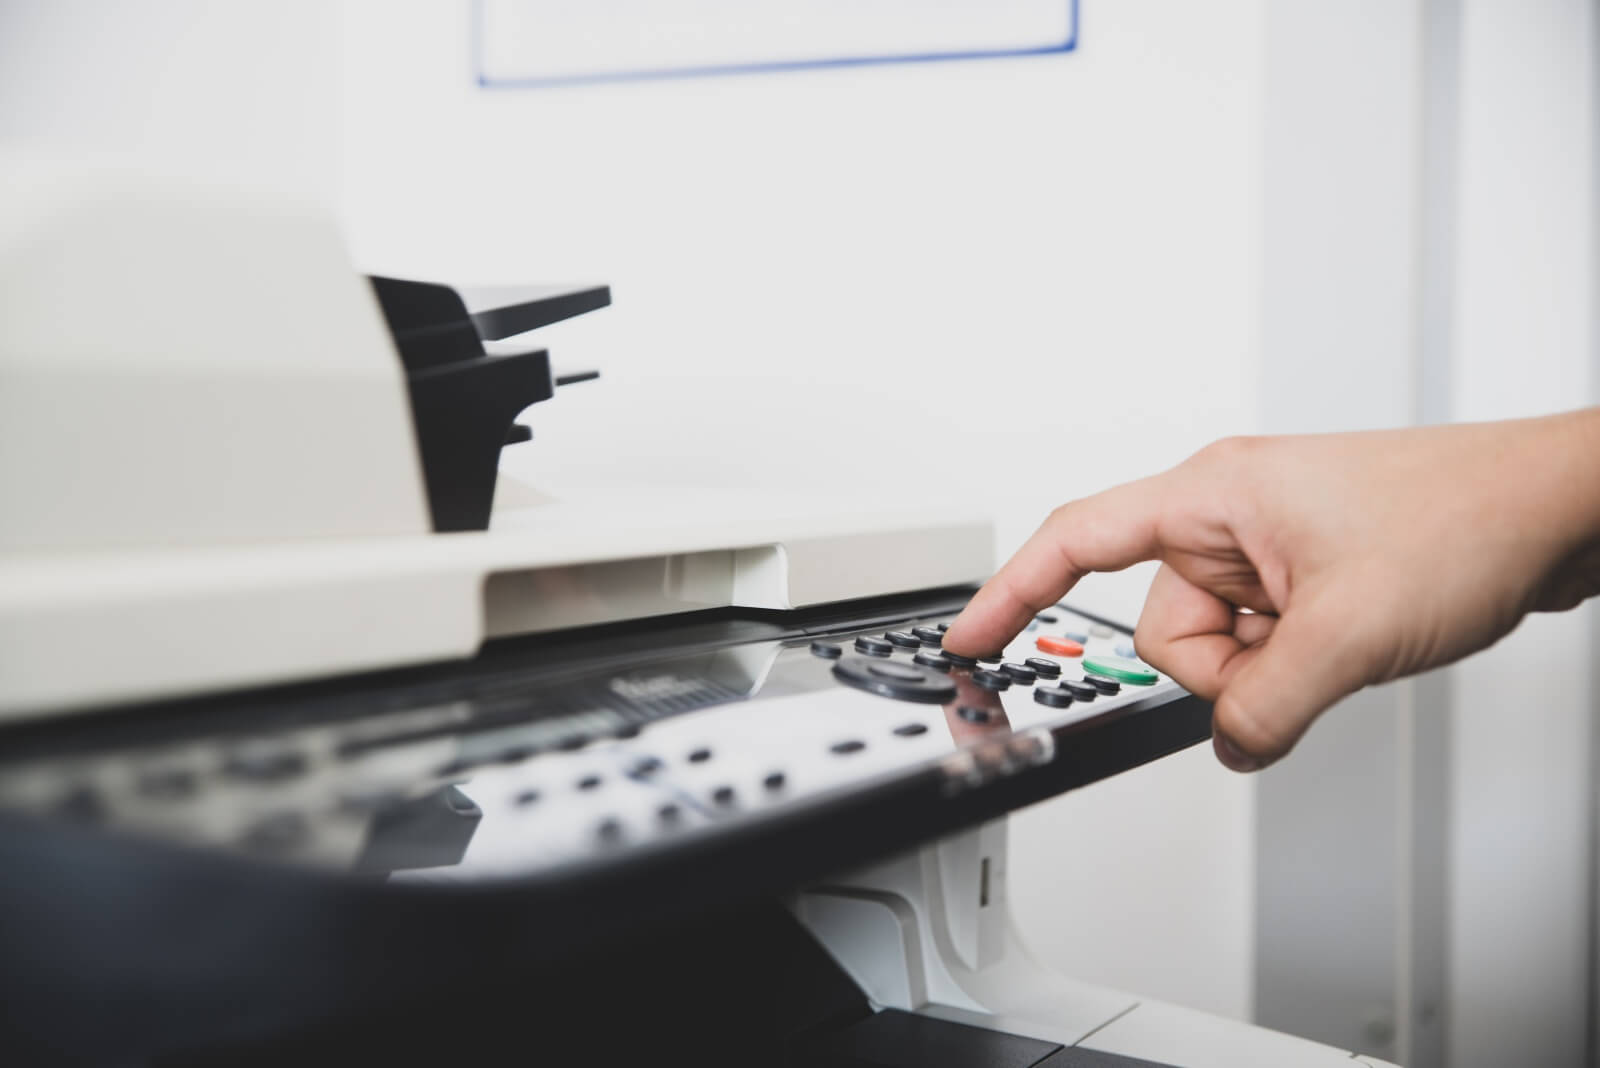
Option 2: Control Panel
While the embedded web server method is ideal for typing in longer passwords and email addresses, you may find the control panel method easier to use.
Access the printer’s settings menu from the printer’s control panel interface and look for an “SMTP configuration” or “SMTP settings” option. Enter your email address and password, as well as any other SMTP information as prompted.
One of the benefits of using the control panel is the ability to register your email address. Many modern printers have a list of pre-installed providers (Gmail, Microsoft Outlook, etc.). Select the provider that corresponds to your email address—or enter the email address manually.
Once you register your email address, the printer will be able to send documents directly from it.
Step 5: Test the Scan to Email Feature
Once you have configured the scan to email settings, test it out by sending an email from your printer to yourself. If all goes well, you should receive the emailed document in your inbox. If not, double-check that all of your settings are correct.
Need Help Setting Up Scan to Email? Contact Us for More Information
Setting up scan to email on your MFP copier or printer can be a finicky thing. If you’re struggling to get this useful feature up and running, don’t hesitate to reach out to the experts at Mid Ohio Strategic Technologies for assistance — contact us today!