How to Add an Email Address to Toshiba Printer and Toshiba Copier Address Books
Learn How to Update Your Address Book on Toshiba Printers and Copiers in 3 Steps
A printer or copier’s Scan to Email function makes it easy to send documents, but having an address book that includes client and employee contact information makes it even easier.
(If you don’t have Scan to Email set up, click here to learn how.)
This article will guide you through the process of updating a Toshiba printer’s address book in 3 simple steps.
Step 1: Find Your Toshiba Printer IP Address
You will need the IP address for your Toshiba copier and/or printer. There are a couple ways to get the IP address. The best way is from the Toshiba copier itself using the touch panel.
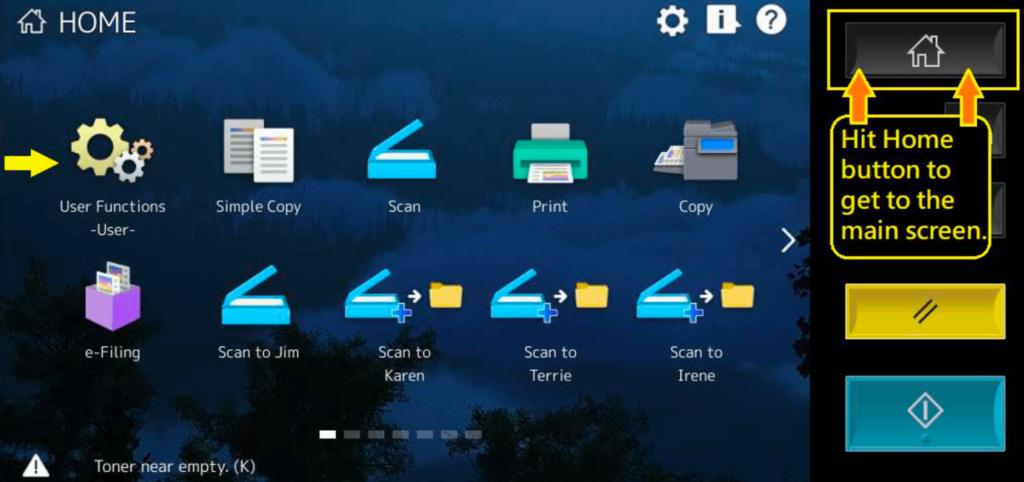
To begin, you’ll hit the User Functions button. If you see the copy screen, simply hit the Home button first. Then you should see the User Functions button on the home screen.
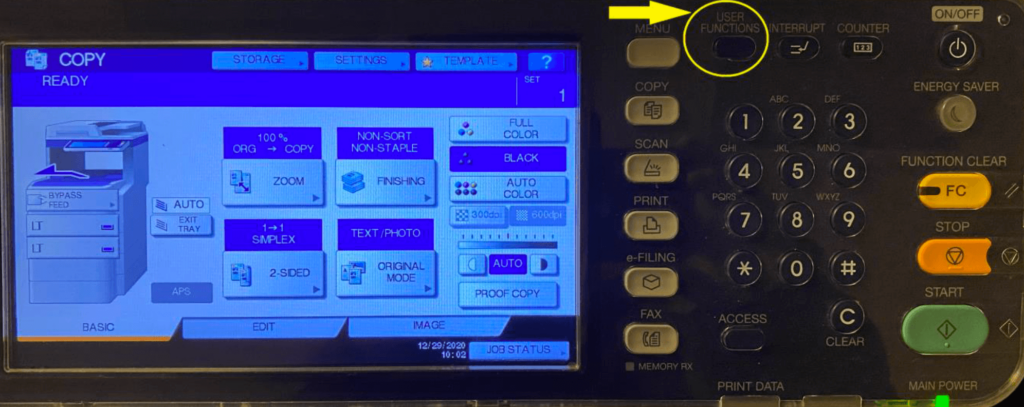
If you have an older copier, the User Functions button will be a physical button.
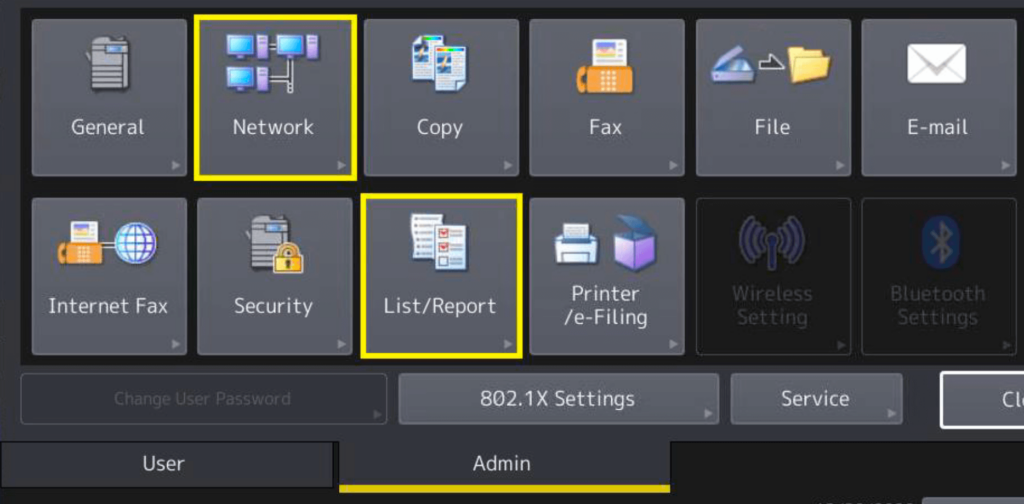
After hitting User Functions, you’ll hit the Admin tab on the touch screen. you will need the password for this, which you may receive from Mid-Ohio Strategic Technologies or from your IT department, but for security purposes, will be left out of this guide.
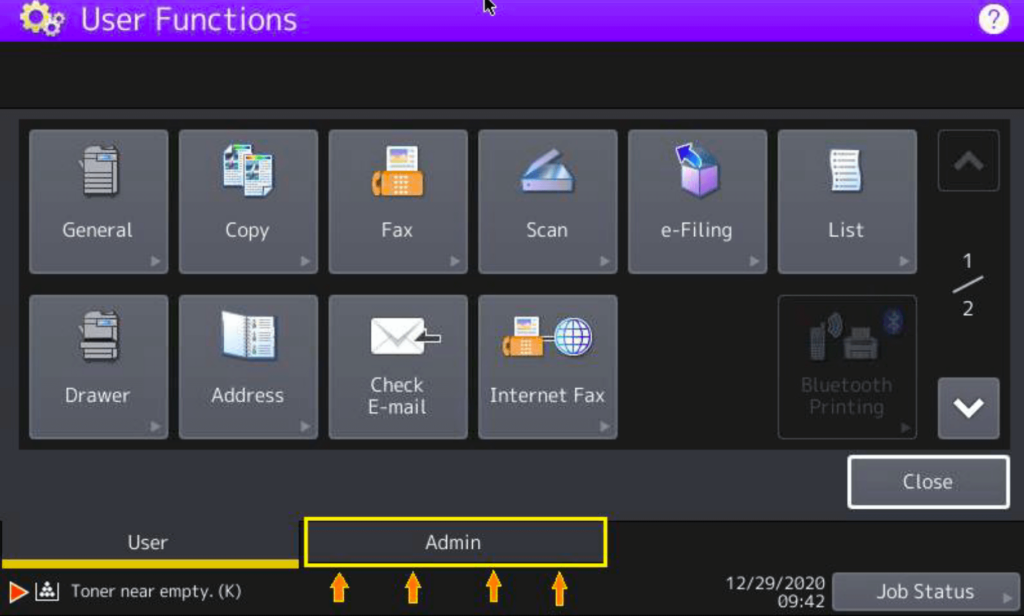
Once you input the password on the next screen, you’ll see more options.
You can hit Network or List/Report.
Using List/Report, you can print a Network Configuration Page (NIC), and from Network, you can see the network settings rather than print them.
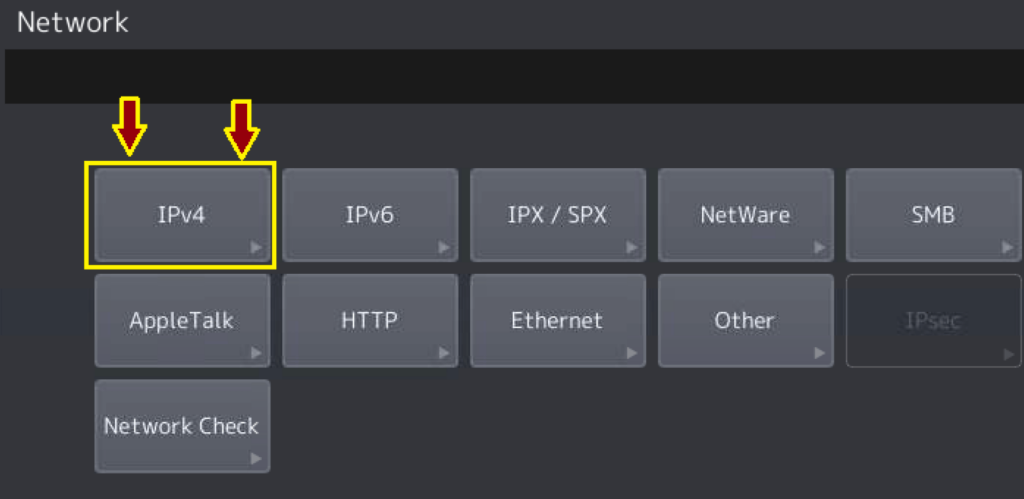
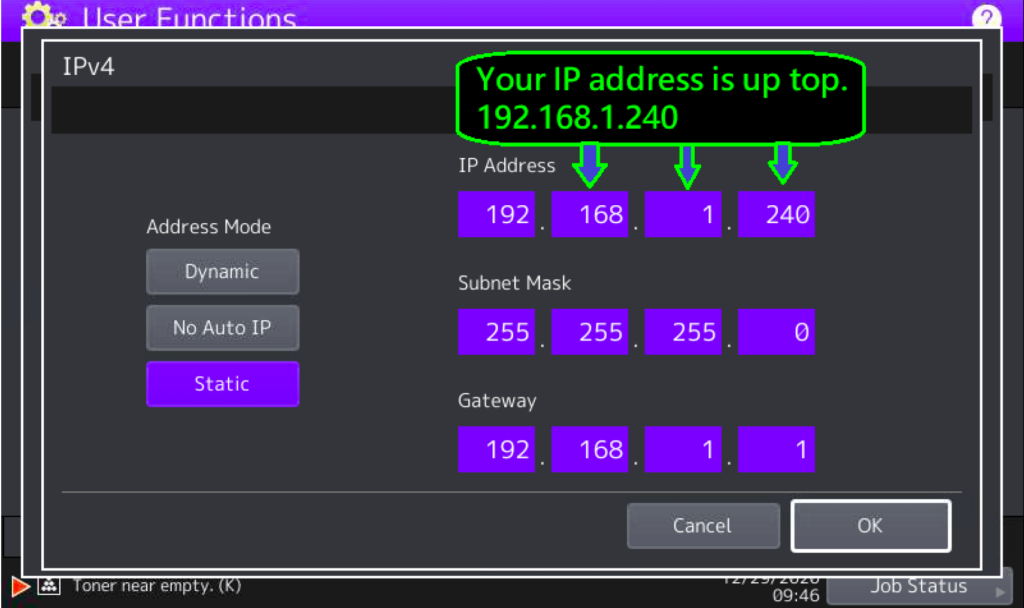
Hit Network, then hit IPv4 and you’ll see your IP address.
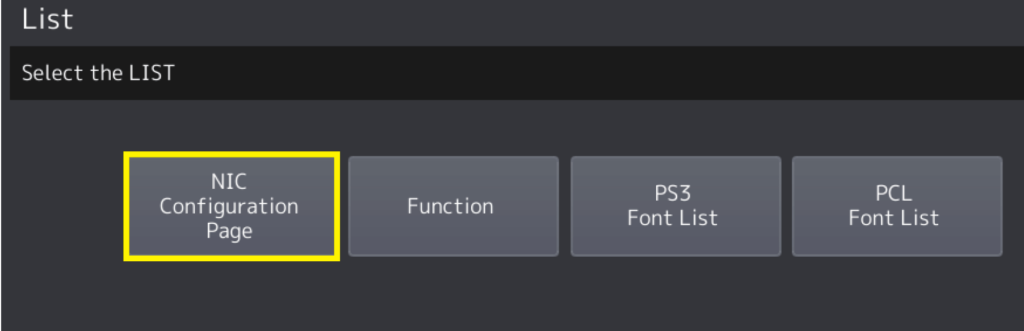
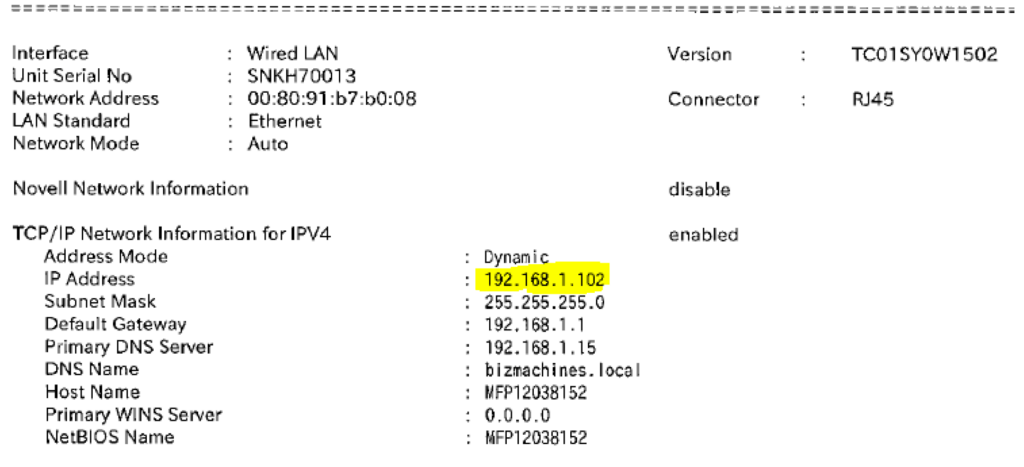
Hit List/Report, then hit List, then NIC Configuration Page.
On the printed page, you will see this. In the example below, the IP address is highlighted in yellow.
Step 2: Update Address Book via Top Access
Now that you have your IP address, make a note of it somewhere so you will have it if you need it in the future.
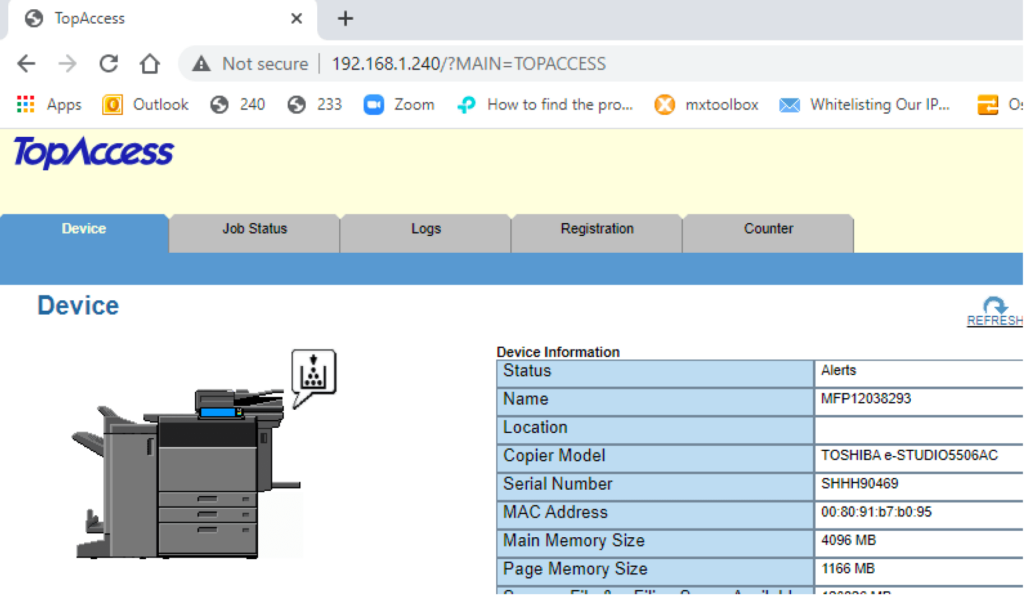
You can access the Toshiba printer and/or copier from a web browser (if you’re on the same network) by typing the IP address into the URL field and hitting enter.
From there, you can update the address book, which all users can access.
Type the IP address into your web browser’s URL field and hit enter.

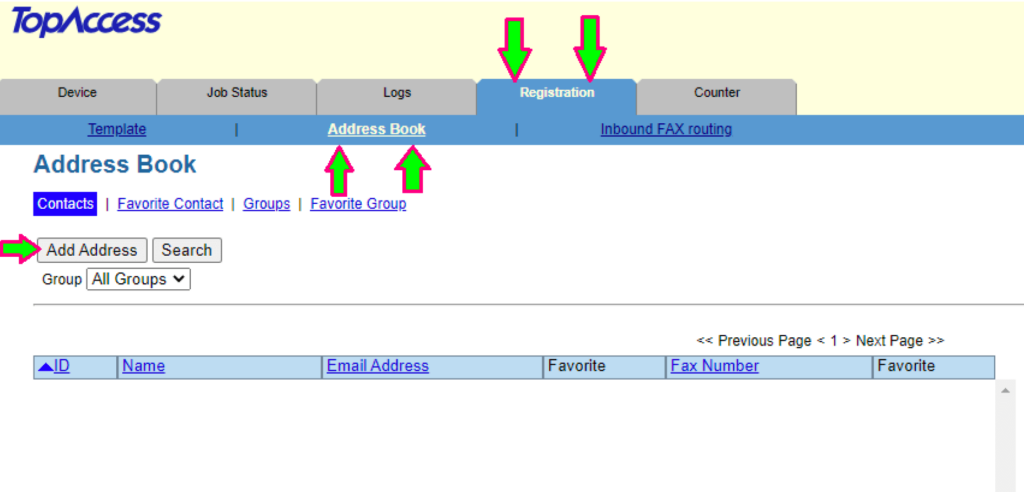
Top Access will come up. Click on the Registration tab up top, then click Address Book below that.
Step 3: Add New Contact Details
To add contact information, click Add Address to enter a name and email — even a fax number if you want.
Be sure to hit the Save button after you create the new entry.
You can add as many emails as you need here.
If you want to edit or delete preexisting contact information, you can do that here, too.
Whenever you make changes to contact details, you’ll have to hit Save.

When you go to the copier or printer, those emails will now be in the Address Book, where you can use the Scan to Email function or fax when you put in the corresponding fax numbers.
When using Scan to Email, we recommend sending the email to yourself, and then forwarding the contents to others because the Scan to Email system is a one-way email that cannot be replied to.
Need Additional Assistance? Contact Us Today
If you’re having a difficult time updating your Toshiba copier or printer’s address book, we encourage you to contact us. We’ll guide you through the process one step at a time.